
When it comes to canning and home preservation, one of the most critical aspects of the process is sterilization. Sterilizing the tools and containers that you use during the canning process ensures that your foods will be exposed to the least amount of contaminants so that you can be confident that your preserved foods will be safe to eat. While you may choose to sterilize your jars before you do any canning, it is not required in certain circumstances. You’ve trusted Mamavation for themes like how to can tomatoes, best cookware & best probiotics, join us for a tutorial on how to sterilize jars for canning.
Disclosure: this post contains affiliate links.
When to Sterilize Jars for Canning
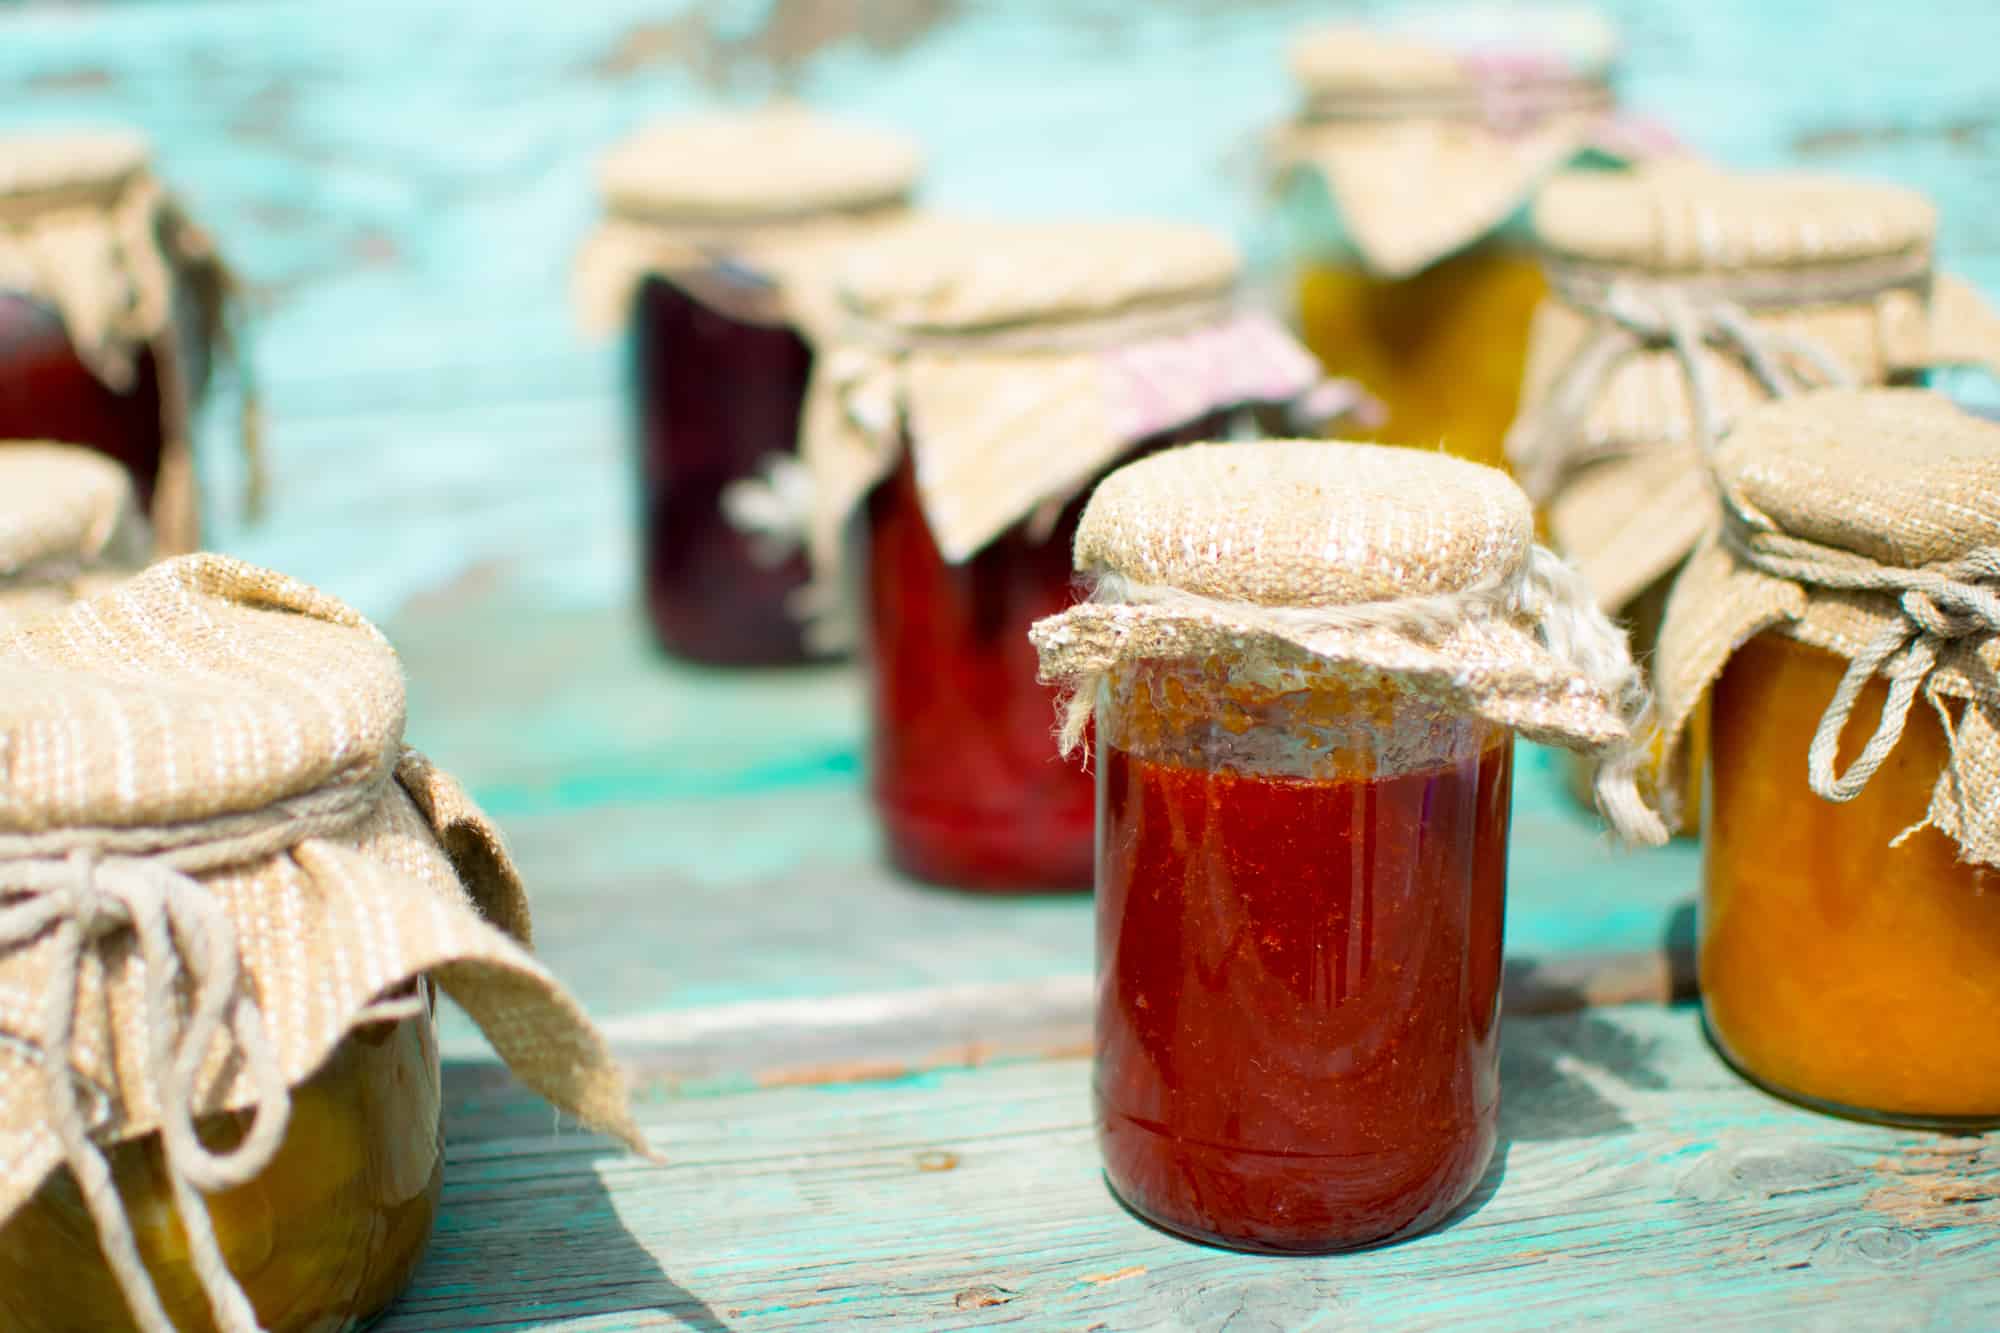
You will need to sterilize your jars for canning any time you are using a recipe that requires less than 10 minutes of processing, including but not limited to jams, jellies, and pickled foods. According to the National Center for Home Preservation, if your recipe for canning fruits, vegetables, or meat will be processed for more than 10 minutes in a pressure cooker, you do not need to sterilize your jars.
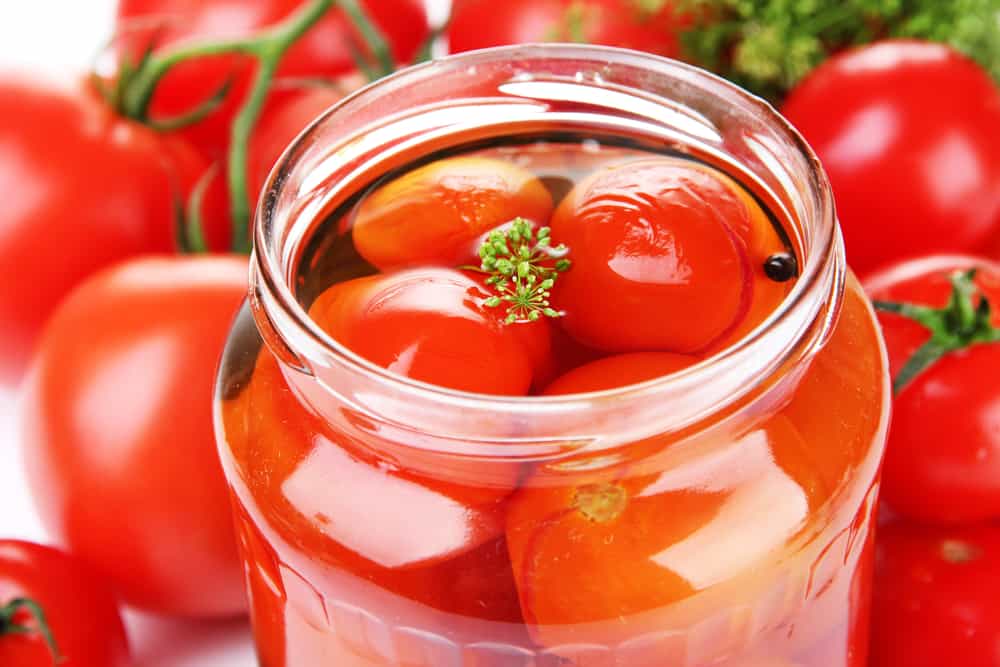
Likewise, if your recipe for fruits, including tomatoes, pickled or fermented foods will be processed for more than 10 minutes in a boiling water canner, you do not need to sterilize your jars. The heat that the inside of the jar will obtain during the canning process will be sufficient to kill the germs that are of concern in this process. If in doubt – sterilize! Personally, my mom taught me to sterilize my jars every time I can, so I still do.
Before You Sterilize Jars for Canning
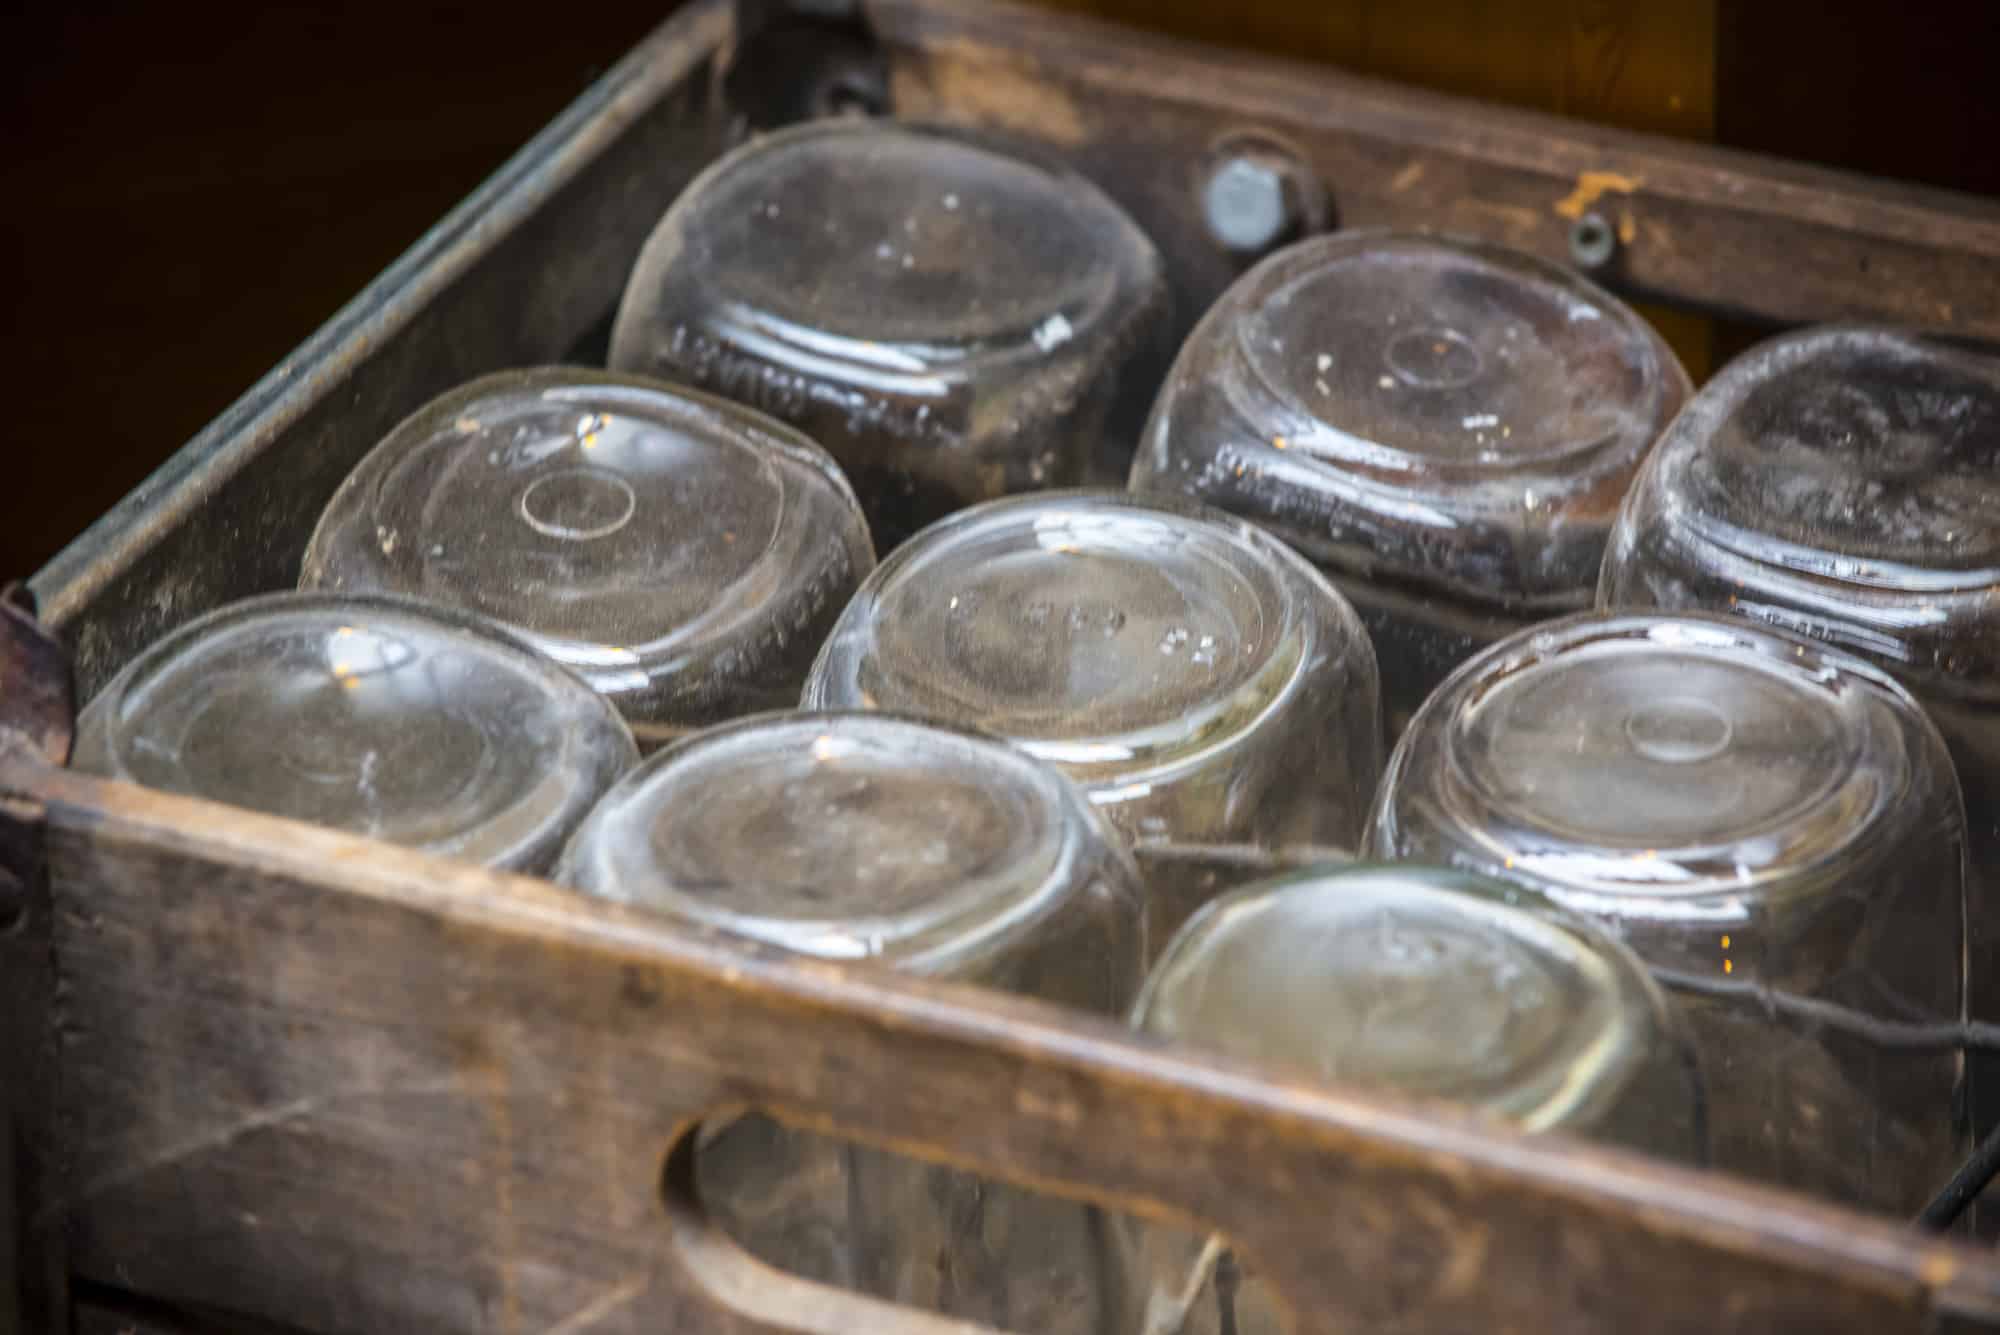
With every canning project, you need to make sure that you wash your jars, bands, and lids in hot soapy water and carefully inspect your jars for any nicks, dings, or weaknesses in the glass. The canning process is a lot safer now that our glass jars are improved, but this was a very critical step not so very long ago when our parents and grandparents were canning with older style glass jars. Manufacturing technology has improved for jars, but it’s still important to check and make sure that your jars are without flaws before you use them in the canning process.
Gather Your Supplies
Once you have your jars washed and inspected, you’ll need to gather the supplies that you’ll need for the sterilization process:
- Boiling water canner with rack or large stock pot with rack so that jars do not sit directly on the bottom of the pot
- Mason jars
- Jar lifter
- Hot water (not boiling) – I typically heat the water in the boiling water canner and then add my jars. Just beware of splash back and make sure that you add your water and/or your jars slowly!
How to Sterilize Jars for Canning
- Once you have selected your method of obtaining the hot water and adding it to the jars, you’ll need to add your jars to the boiling water canner or large stockpot on top of the rack. Jars should be upright, with the bottom of the jar on the rack and the mouth of the jar at the top.
- Add water so that each jar is completely filled with water and the water level is 1 inch above the top of the jars.
- Bring the water to a boil. Once the bubbles of the boil are breaking above the jars, begin timing.
- Boil jars for 10 minutes.
- After 10 minutes, you can begin to take out your jars with a jar lifter one at a time to use in the canning process. Be careful – the water is VERY hot! I take one jar out, fill it with my recipe, add the lid and band, then place it in the pressure cooker. Keep the hot water from your boiling water canner or large stockpot so that you can use it during the canning process in your boiling water canner or pressure cooker.
You now have sterilized jars!

 Grocer Ahold Delhaize Bans PFAS Chemicals in Food Packaging & Beauty Products!